Please take a moment to check this site out: http://www.hedgelaying.org.uk/
and if not for all the verbiage, then at least for the picture on the National Hedgelaying Society's home page.
I've tried to take pics of the hedges from the train on my way down to Kent, but, taking pictures from a moving train just doesn't work...
That is a beautiful picture. It really gives you an idea of what much of the English countryside looks like... and just how common hedges are here in England.
Historically, hedges have been used as a means of containing farm animals in fields... but as I think I've mentioned before, they are quite common in the residential landscape here as well.
Just to give you some idea, I found some numbers just now online- I can't vouch for their accuracy, but, I have no reason to think they are inaccurate, because, as I've said, hedges are a big thing here.
In 1946 there was 500,000 miles of hedge in England. In 1984, 382,000 miles in England and Wales and then it dropped again in 1993 to 236,000 miles. I can't find any numbers more recent than that, if I do, I will come back and add it.
But, I think that is enough to get my point across.
There are lots and lots of hedges in England.
There are a multitude of styles, depending on the region and the site specific topography. Hawthorn (Crataegus spp.), Blackthorn (Prunus spinosa) and Hazel (Corylus spp.) are the plants most commonly used here, with the Hawthorn and Blackthorn being especially suited to creating a barrier because they have... yup, you guessed it... thorns.
Yessirree.
And to that I would add.
Ouch.
Hedges and/or hedgelaying is really a fascinating subject. I'd encourage you to google it or at least google up some pictures to oooh and aaah over. Because, to my way of thinking, hedges do not only serve the function of containing livestock, they also provide food and shelter for a multitude of wildlife.
AND!
They are definitely an art form. Function and beauty. Which is what I am all about these days. Or.
At least, I want to be...
So. This was such a great workshop!!! Hedgelaying is something I'd really, really like to learn how to do, and do well...
when I grow up!
Really wish I had taken some pictures, but, I find myself in a conundrum in John Waller's workshops... I want to write down or take pictures of absolutely everything he says or does... but that is
a) impossible and if I should try, then
b) I miss the next thing he says which is just as important and then
c) I ask a question that he has actually just answered while I was writing down the thing before which then is
d) a little disruptive because I am truly shocked he has just 15 seconds before said it, and everyone laughs (I hope they don't think all Americans are this ditsy... actually, I hope they don't leave with the impression that I am that ditsy either).
'Cause I'm really not!
John actually told me to put my notebook away during the last workshop (basketmaking)... yes he did, right in front of everybody.
"You're right, you're right, I know you're right..."
(That is a quote from When Harry Met Sally)
So. No hedgelaying notes and very few hedgelaying pictures.
BUT... WE DID GET SOME HANDOUTS WHICH WAS GREAT!!! AND THIS IS IN ALL CAPS IN CASE YOU KNOW WHO READS IT!!!
Let's see if I can give you a rough idea of what is involved... from memory... and locate some pics online to help...
1) Clear away the lower branches and any brambles etc. up to whatever height you personally need to so as not to poke your eyes out when you are kneeling down on the ground to cut the tree... for us, this was something like 30 inches or so.
2) Make the cut, using a sharp tool... billhook, axe, side-axe. John has two side axes (one big, one small) that he uses. We used regular axes. Side axes are flat on one side enabling you to make the cut easier.
So, rather than making a horizontal cut (as you would if you were felling the tree) you make more of a vertical cut, so that you are leaving some of the outside layers of the tree (outer bark, inner bark, cambium and sapwood) attached to the root system. You are wanting the tree to live, and not die. If it does die, don't flip out though. Save that for if they all die.
http://www.arborday.org/treeGuide/anatomy.cfm
Also, you use the angle of the cut to determine the direction the tree will ultimately "fall" or lay in... Which will be at right angles to the direction of the axe blade.
The hedge we were laying was comprised of a double row of Hawthorne's spaced, oh I don't know, something like 12" 16" 18 inches (I am guessing) apart in the rows and the rows themselves about 18 inches apart.
We were trying to have the tops cross at the centerpoint between the two rows. So, pretend the base of the tree is a clock, we were shooting to have our axe hit the tree at say, 1 and 7... trying.
And, if at first you don't succeed? Try, try again.
And again... and again and again and again and, OMG again...
John makes it look much easier than it really is. As is the case with pretty much everything.
I found this pic on google...

hawk-conservancy.org
3) Then you, very carefully, ease the tree down (in the case of this picture, to the left) towards the ground until it makes a 30 degree angle with the ground. You want a gentle bend in the part that is still attached to the tree and roots, not a kink, because that might retard sap movement, and potentially kill the tree.
4) Next, cut the remaining stump off with a saw. Preferably a sharp one. And one for pruning, because it is nicely curved and you are working in pretty tight spaces. A bow saw will make you think swear words in your head which you might then self censor so that what comes out of your mouth is something like, "grrrr!" or "crikey!!" or something like that.
As far as I am concerned, bow saws are the work of the Devil.
Someone, please, name me a case when they actually are useful. Because so far, every time I've used one in the woods I just want to scream and heave it far, far away from me.
5) Now we are at the part that is my absolute fav. The pruning and weaving part. Here, we are removing any branches that are dead, or growing in a way that they cannot be contained in our imaginary boundaries. We want the hedge to be 18" thick, and 4' 6" high.
I love this part. The weaving in of the branches to fill in the gaps. Making it look neat and tidy. I think this might have been the only time during the whole course I was not uttering some kind of anguished sound. I'm not saying I wasn't talking... the incidence of that are far and few between.
I could do this weaving in thing 'til the cows come home though.
6) Insert stakes in the ground along the center of the hedge, trying to interlace them through the branches of both rows of layed trees in the process, and spacing them 18 inches apart. I think the stakes were hazel? Someone please correct me if I am wrong. To do this we used a wood mallet.
Similar to this...

inverclyde.gov.uk
but, of course, John made his. I'll try to get a picture of it sometime.
Something else I have learned here, following along the thinking of using the right tool for the job, is that if you are putting a wood stake in the ground, use a wood mallet... if you are putting in a steel stake, you need a tool with a steel head... etc. I am probably not getting this quite right, and need to ask some questions about this so I understand the philosophy behind it. Why not use a cast iron or steel mallet to hammer the hazel stakes in to the ground?
7) Next step, adding the Hazel "binders" along the top. These are small hazel trees that have had all the side branches and the top removed. There is a specific way to weave them together between the stakes, which was, again, not as easy as it looked when JW did it.
One thing I think I've learned is when John says "behind" what it usually means, and translated into my form of English, is "furthest left" and has nothing to do with the concept of being "in front of" or "behind". Make a note of that.
Basically though, it was a pattern of back to front and then front to back going up and over. Keeping the binders tight to the trees, and at the same height (4' 6") all the way along.
8) Finally. Last thing to do is saw off the tops of the stakes, all at the same height, and with a 30 degree downward angle that is parallel to the line of the pleached trees. John makes his stakes one "hand" height above the binders.
The final result is gorgeous... see for yourself!

I did manage to snap a few pics... enjoy.

day one, lunch break... sunny but cold and windy.

King John #1 - sitting on his wheelbarrow throne.
See that jug of water, bottom right? OK. See that silver thing to the left of it, by JW's feet? That is a Kelly Kettle. That thing goes every where with us and enables us to make tea... in the woods!! I want one of those someday, too!!

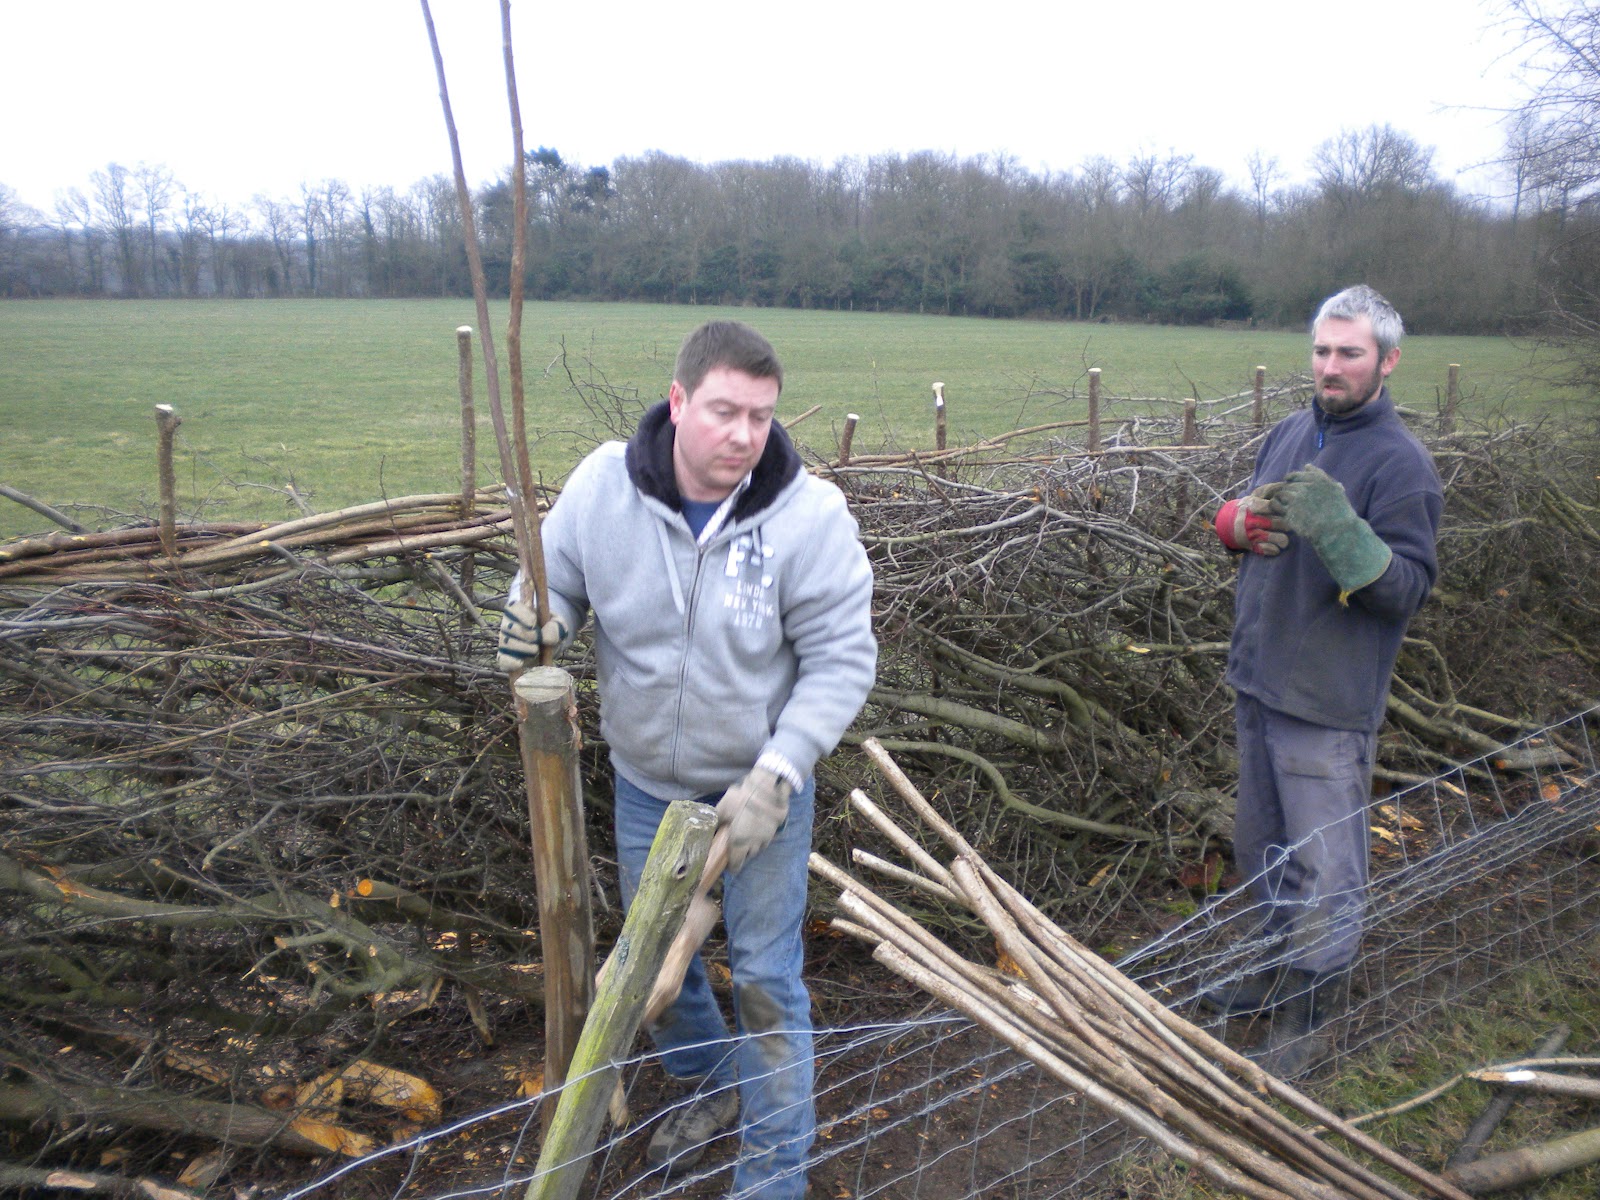
binding and staking

we worked together in teams, this is my team-mate James...
we were also team-mates during the coppice workshop two weeks prior!
We are standing in front of the section we did!

JW opted to leave this little oak tree to grow in the midst of the hedge... wish I was going to be around to see how beautiful that is going to be 20 years from now!
Ian (left) and John (#2) have just put in their stakes (Ian is holding JW's mallet, but it's half hidden by the fencepost) and now selecting binders

Ian and John (there were two other Johns besides JW!) binding

John (#3) trimming stakes

many "underwoodsman" jobs include a fire to get rid of the "rubbish" this one was relatively small compared to the tree felling fires!

Tim and John Waller by the dwindling fire.

Our class... (L-R) John Waller, James, John #3, Tim, Ian and John #2
standing in front of our handiwork!!!

before and after (after and before?)
And there you have it. One beautifully layed hedge, if I do say so myself!
I have given myself a headache... need a walk and water before I carry on...
xo-
susie
Sounds and looks like you are having the time of your life! Fantastic blogs!
ReplyDelete